Screen Basics
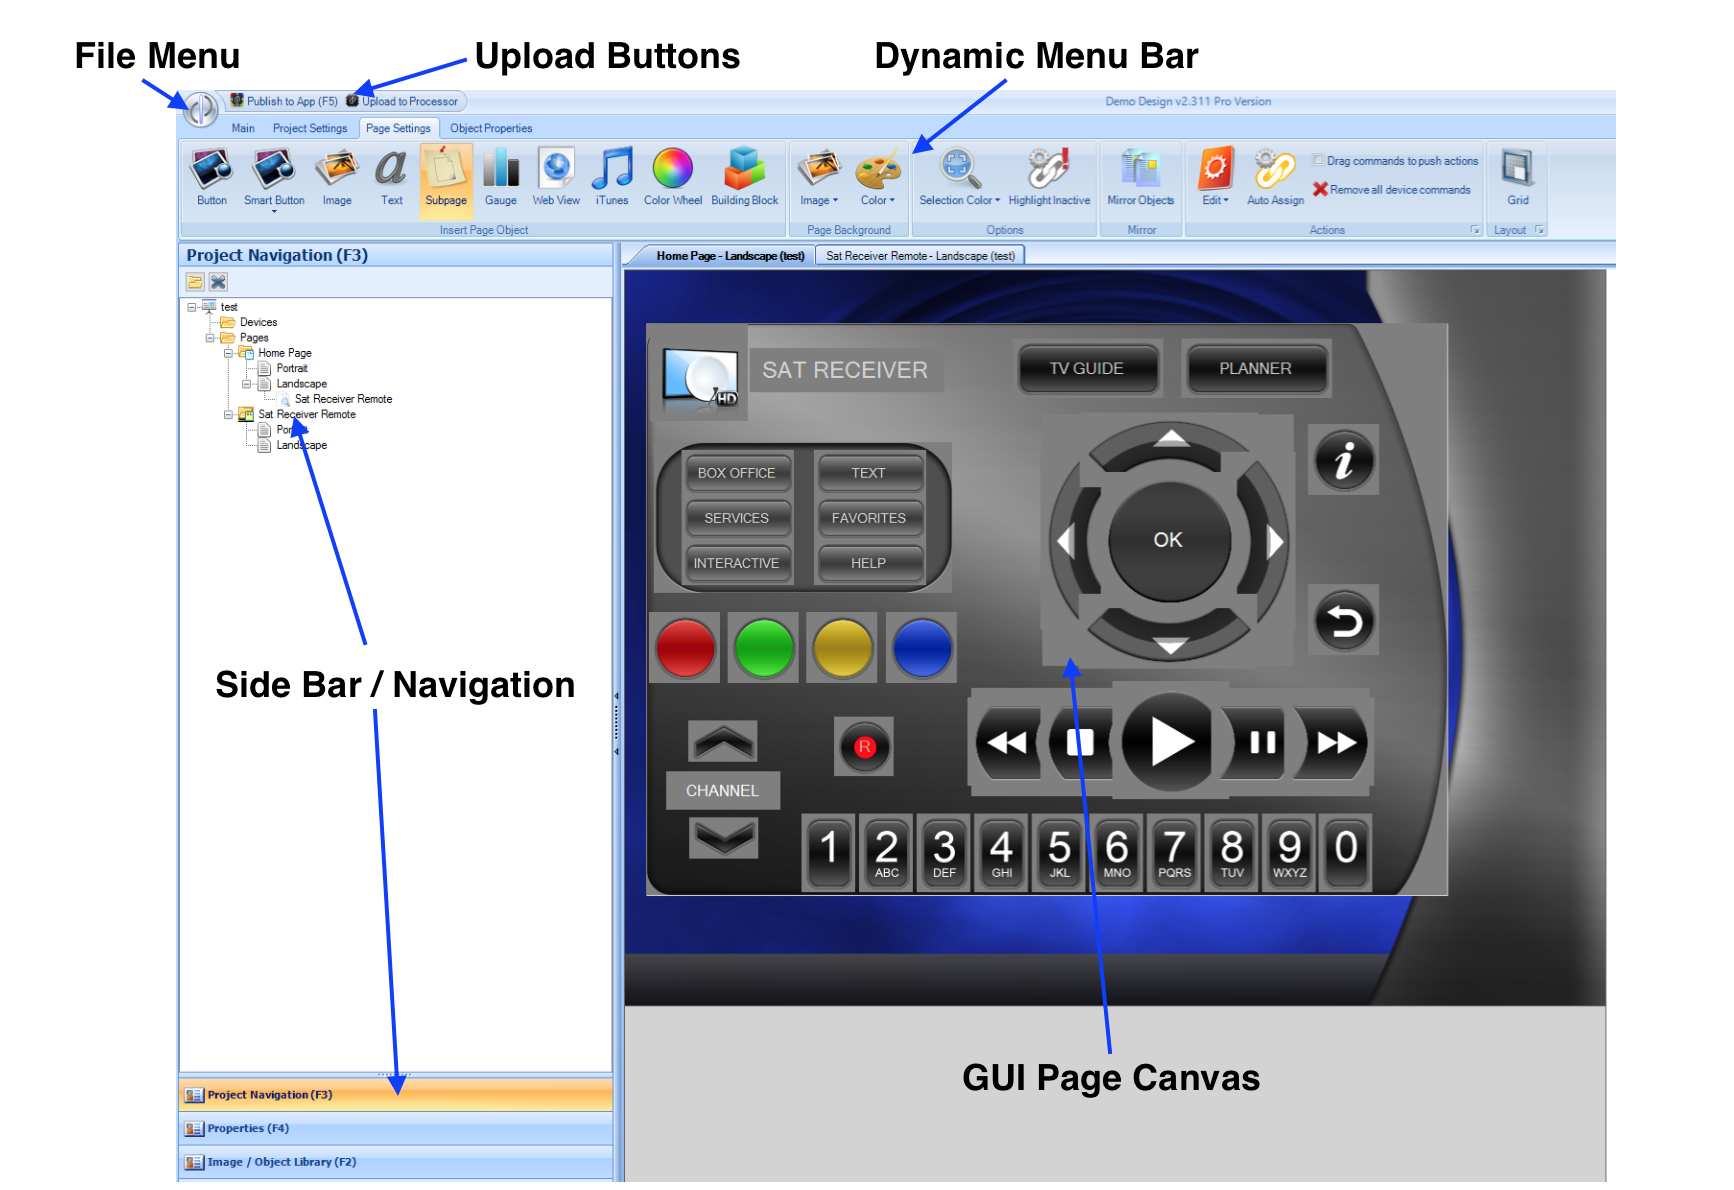
The main software screen is divided into several sections, shown below. The full window may be resized / maximised, and the
size of the side bar may be adjusted by dragging the dividing bar from left to right. Double clicking the dividing bar will
hide / show the side bar.

File Menu
This is used to gain access to previously opened projects, create new projects, save projects, close projects, and exit the software application.
Upload Buttons
These options allow the project to be transferred to the iOS / Android app, and also to a DemoPad Centro processor which may be part of the project.
Dynamic Menu Bar
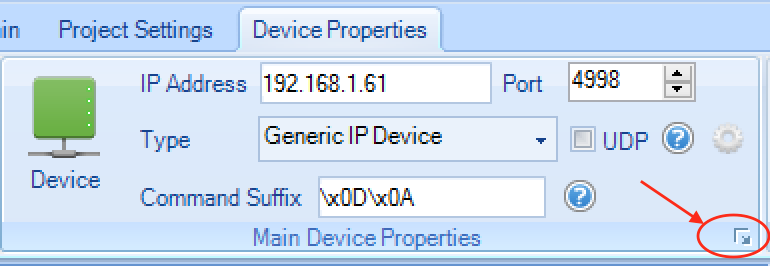
The menu bar changes depending on what is currently selected. For example, clicking on a button in the GUI page will cause the page object properties menu bar to show. The menu bar consists of groups of menu options, some of which may be expanded to show more options, using the icon in the lower right:


The menu bars available are:
Main Menu Bar
Non-project specific menu options, eg opening or creating projects, linking to external resources, entering cloud login details.
You can access this menu at all times by clicking on the main tab.

Project Menu Bar
Top level menu for the project. Options here for adding devices, altering project variables, setting app screen properties,
adding GUI pages etc. You can access this menu option by clicking on the project name in the project navigation tree view.

Page Menu Bar
Options for the page - eg altering the background image / colour, adding page objects (buttons, text etc) to a page.
This menu can be selected either by clicking on a page orientation (Landscape or Portrait) in the project navigation tree
view, or by clicking on the background of the page in the GUI canvas area.

Page Object Properties Menu Bar
Options for page objects - eg altering the image and text used on the object, editing button actions, linking to 3rd party systems etc.
This menu is automatically selected when a page object is selected, eg by clicking on a button.

Device Menu Bar
Options for devices - setting the IP address and port, adding commands, entering feedback conditions, linking to processors etc.
This menu is selected by clicking on the device in the project navigation tree view.

Centro Processor Menu Bar
Options for Centro processors - adding commands, setting COM port parameters, setting IR trigger conditions (Centro-8M only),
links to web interfaces.

Side Bar / Navigation
The left hand side area of the software screen displays 1 of 3 options:
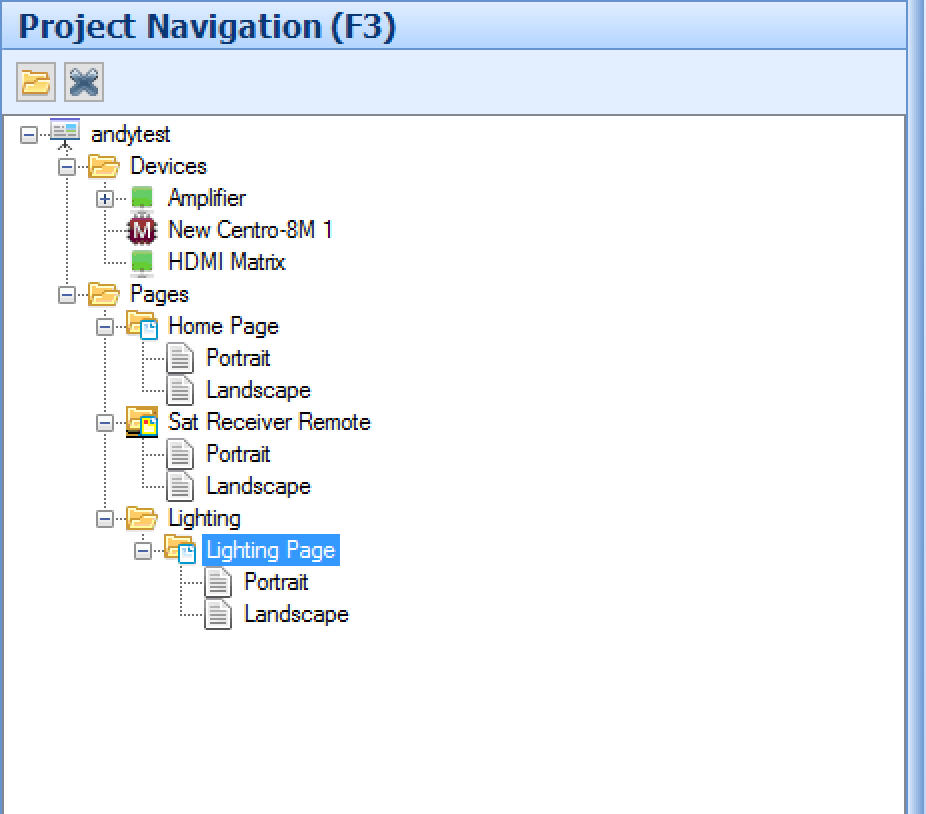
Project Navigation
This shows a representation of all the projects which are currently open, in a tree structure. It shows the devices and pages
which are part of the project. It is possible to create folders from the project menu and drag pages into them, which helps
to organise the project into sections.

Properties
This option shows the read-only properties of the currently selected item, eg clicking on a button & going to properties will show the image used, the width and height of the button etc. This option is for information purposes only.
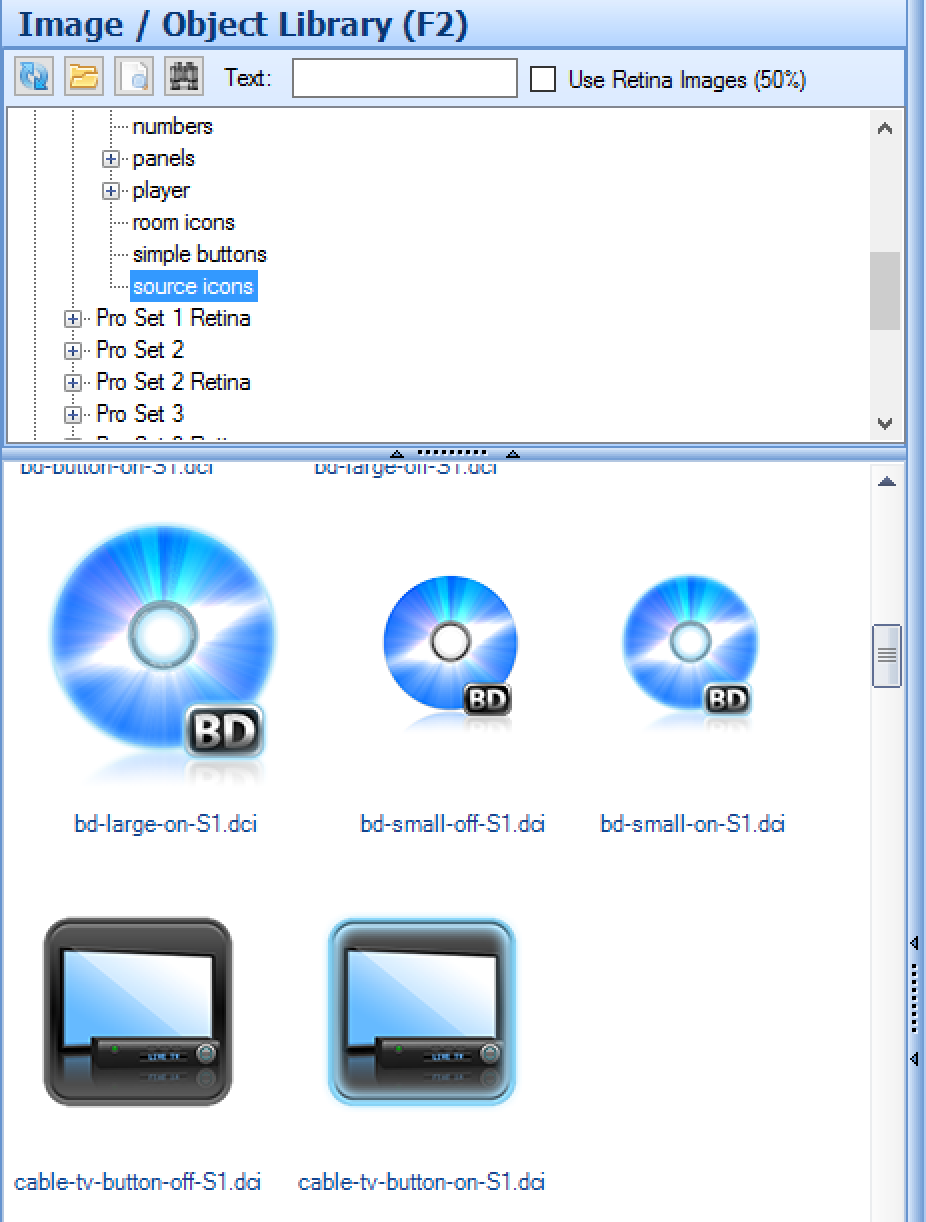
Image / Object Library
This option is used when adding objects to a page. It shows the contents of a directory on your computer within the DemoPad Resources folder.
When adding a button or image object, it shows the contents of the 'images' directory. When adding a building block, it shows the contents
of the Building Blocks directory. These directories are located on your computer, typically in the C:\Users\Public\Public Documents\DemoPad Resources folder.

GUI Page Canvas
This area of the screen displays pages from the user interface, showing you a representation of what the user interface will look like. If you click on the Landscape or Portrait option from the project navigation tree view, then the page is displayed in its own window here. You can organise pages by dragging the page title tab to re-arrange them.