Uploading to Centro-8 / 8M
A Centro-8 / 8M needs a copy of the project uploaded to it to function correctly. You upload to the processor using the top left button shown:
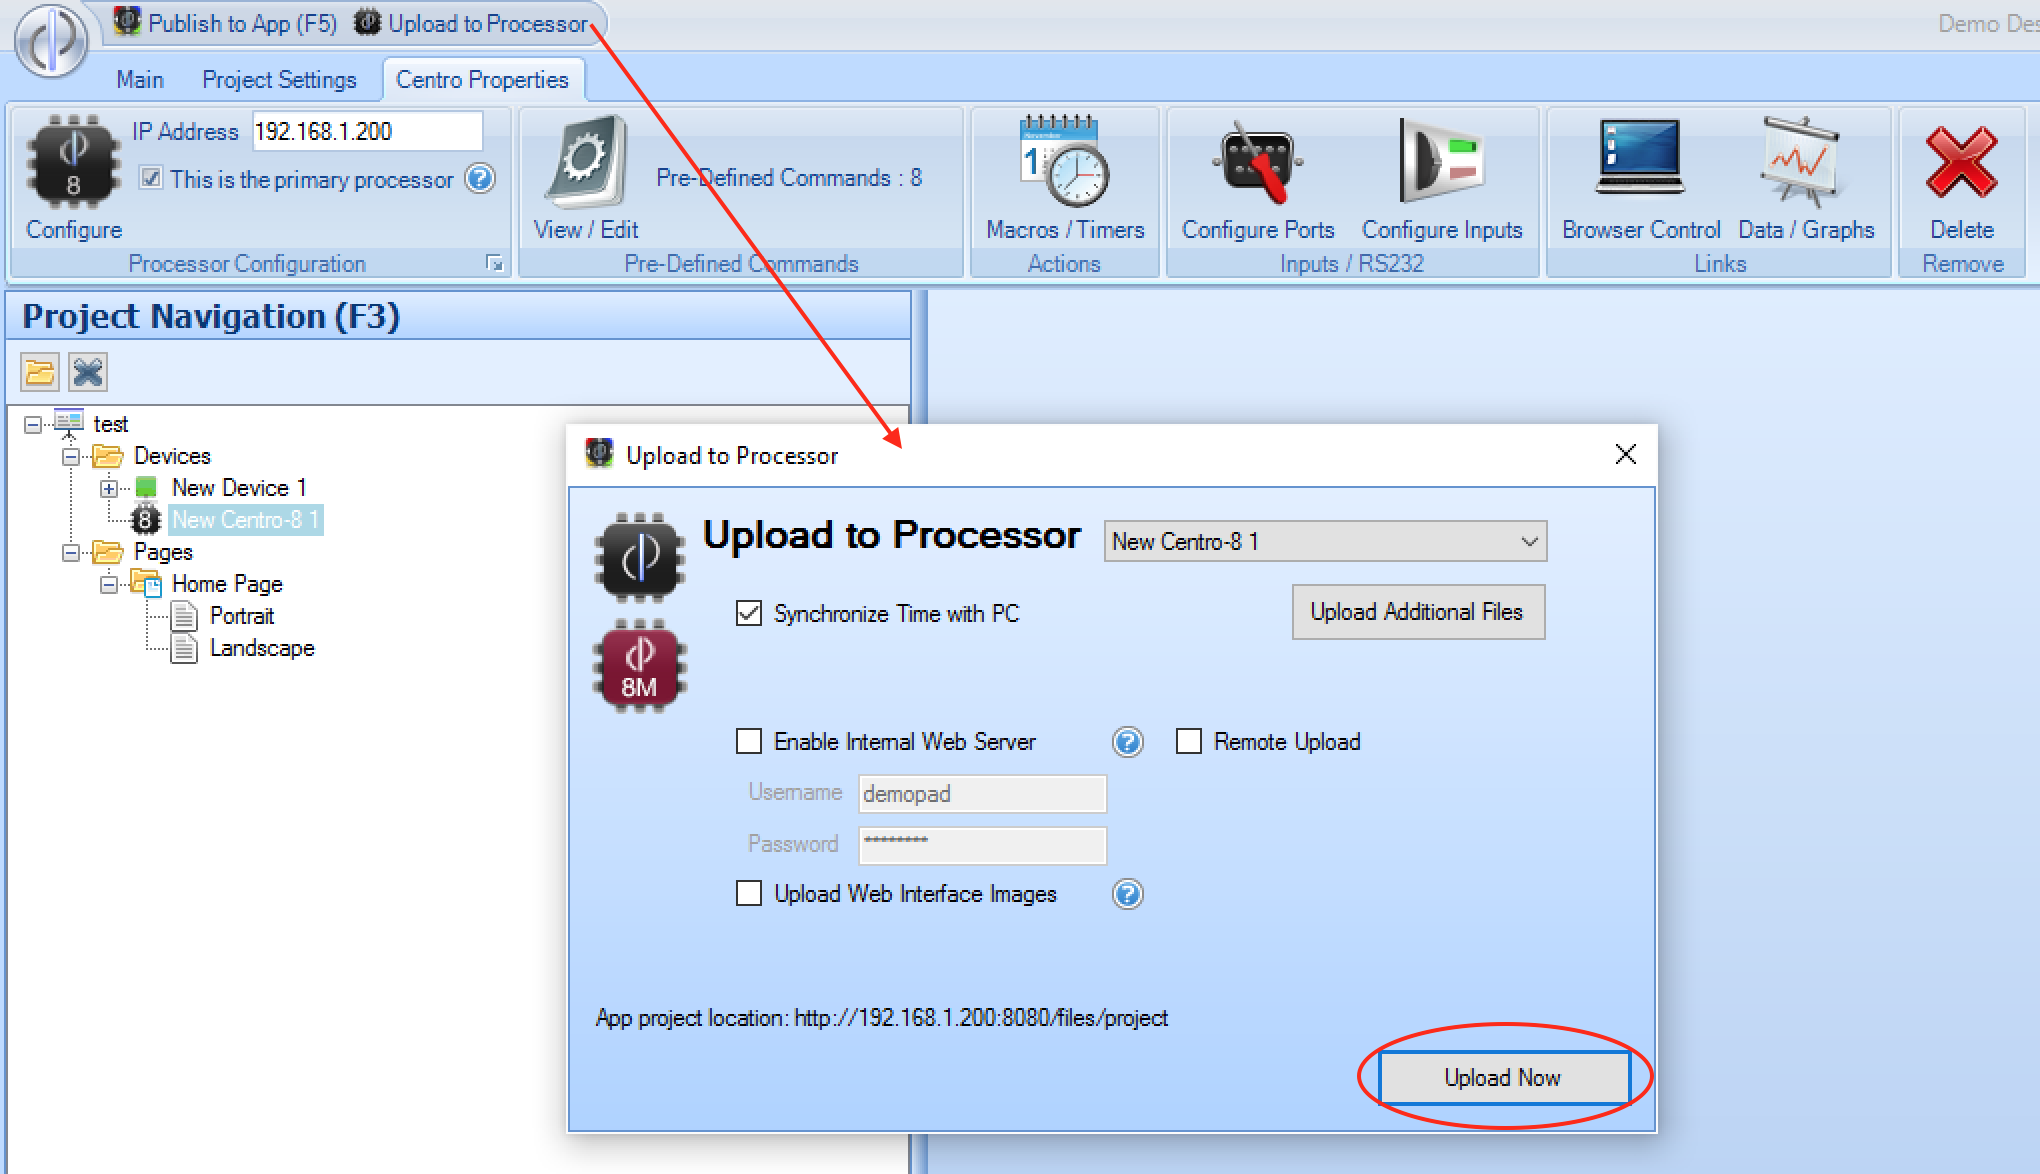
Select the processor from the drop down list (the primary, or only processor will be selected automatically) and press Upload Now
The PC must be on the same network as the Centro for the upload operation to succeed, unless you are attempting a remote upload
(not recommended) in which case you can select the Remote Upload option & enter the IP address and ports required.
You must also have the correct password entered for the Centro-8 (in Config - Step 1) or the Centro-8M (next to the IP address) for the upload to succeed.
There are various options when uploading to the processor:
Synchronize time with PC - as it suggests, this sets the time of the processor to that of your PC during the upload process.
Enable Internal Web Server - If you wish to use the browser based UI of the processor, this option should be ticked, and optionally a username and password entered for the end user (this defaults to username
demopadpasswordpassword. If you do not wish the end user to have to enter a username/password, these fields can be left blank.
If using the browser UI, you must also tick the option Upload Web Interface Images the first time you upload, or each time any new
images are added to the project, to ensure that they are also present on the processor.
The Web UI can be accessed via a web browser on the Centro at the following address:
https://[Centro IP Address]:8081/ui
Note the use of https for security - though this may result in your browser presenting a warning that the certificate is not trusted, because it is presenting itself on a local IP address instead of an externally verified domain name.
Uploading to iOS/Android devices from the Centro
If Enable Internal Web Server is selected, then it is also possible for iOS/Android devices to load the app project (which will be as recent
as the last upload to processor operation) directly from the Centro, using the address:
http://[Centro IP Address]:8080/files/project
which can be entered in the Settings of the Control App for the project location.
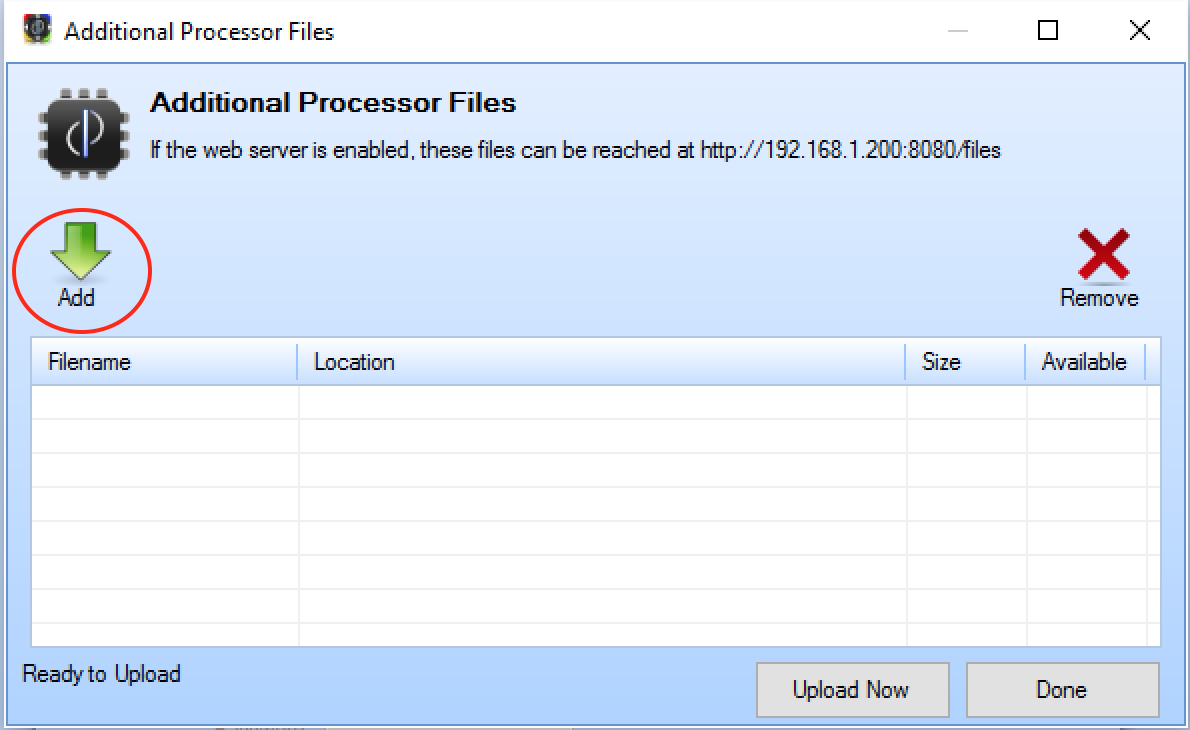
Additional Files
It is sometimes desirable to upload additional files to the Centro, either for use within Centro macros (eg playing a video file) or to be made
available via the web server at http://[Centro IP Address]:8080/files/