Adding Buttons
To add a button to a page, first click on the portrait or landscape icon of the page in the projet navigation tree view. You should see the page canvas appear on the right hand side.
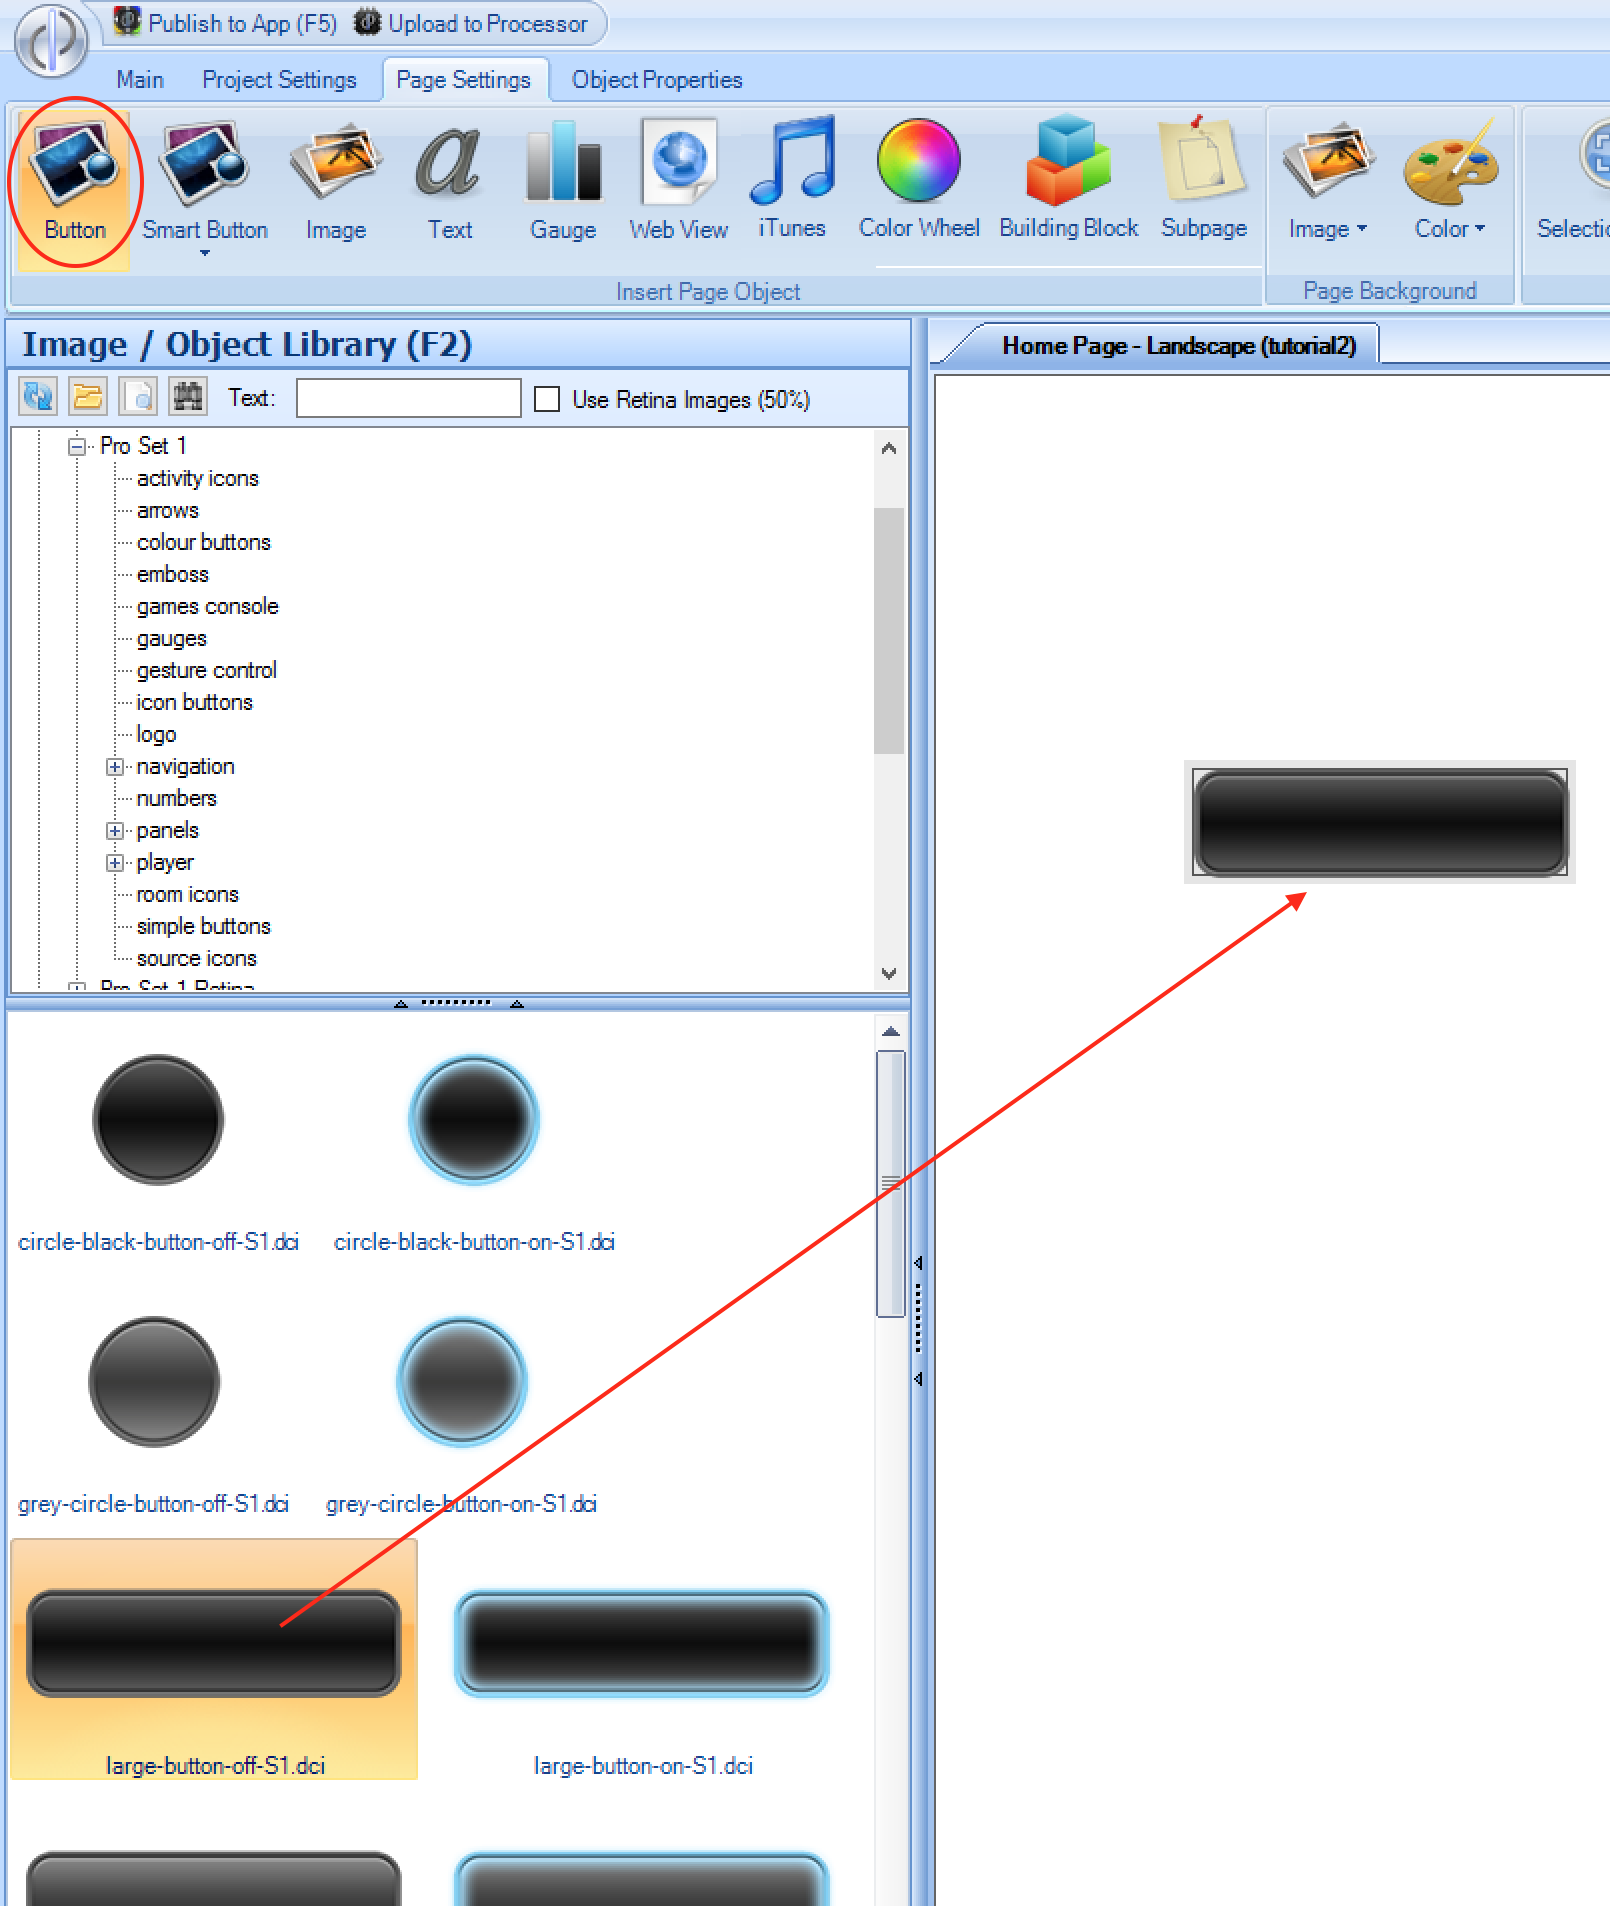
Next click on Button from the Insert Page Object menu. You will notice the side bar changes to the Object Library view, which is where all the default image files are stored
(typically C:\Users\Public\Public Documents\Demopad Resources\Images). Any image files contained in that folder will show up in the software when you click on the folder. If you wish to use your own image files,
you can place them in the same directory for convenience, creating your own sub-directories if you wish.
Once you have located a suitable image for your button, hover your mouse over the image preview until another image appears - then left click and drag the button with your mouse onto the page. Once you let go of the mouse button, the image will be dropped on the page in that location, and you can then move it around by clicking and dragging as required:
When adding buttons, you may receive a warning similar to the following:
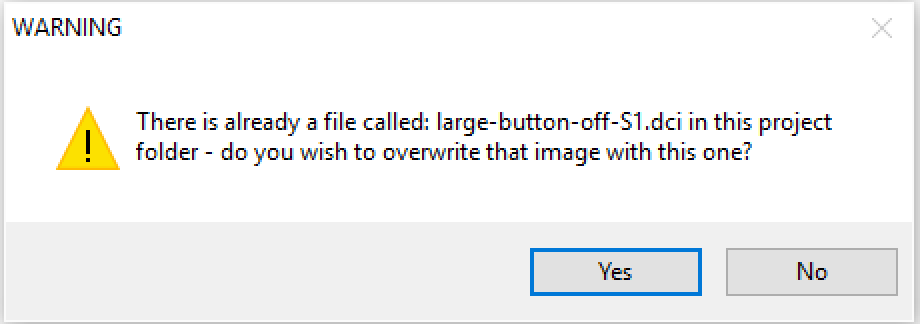
As you create your project, copies of all images used are placed in your project.pad file's _Files folder. Hence, when choosing images which already exist, the software asks if you
wish to overwrite the file. In most cases, the source and destination files are identical, so it makes no difference which option is selected - but care should be taken when using your
own image files, as if an image file is replaced, all occurrences of that image within the project will also be replaced.