Basic Software Steps
There are essentially 4 steps required to create a simple working DemoPad solution.
1. Add Devices
You need to specify the devices on your IP network that you will be sending commands to. A device could be a DemoPad Centro hardware unit, a generic IP device, or one of the pre-defined device types supported by the solution.
You then specify or import the commands that you will be sending to those devices.

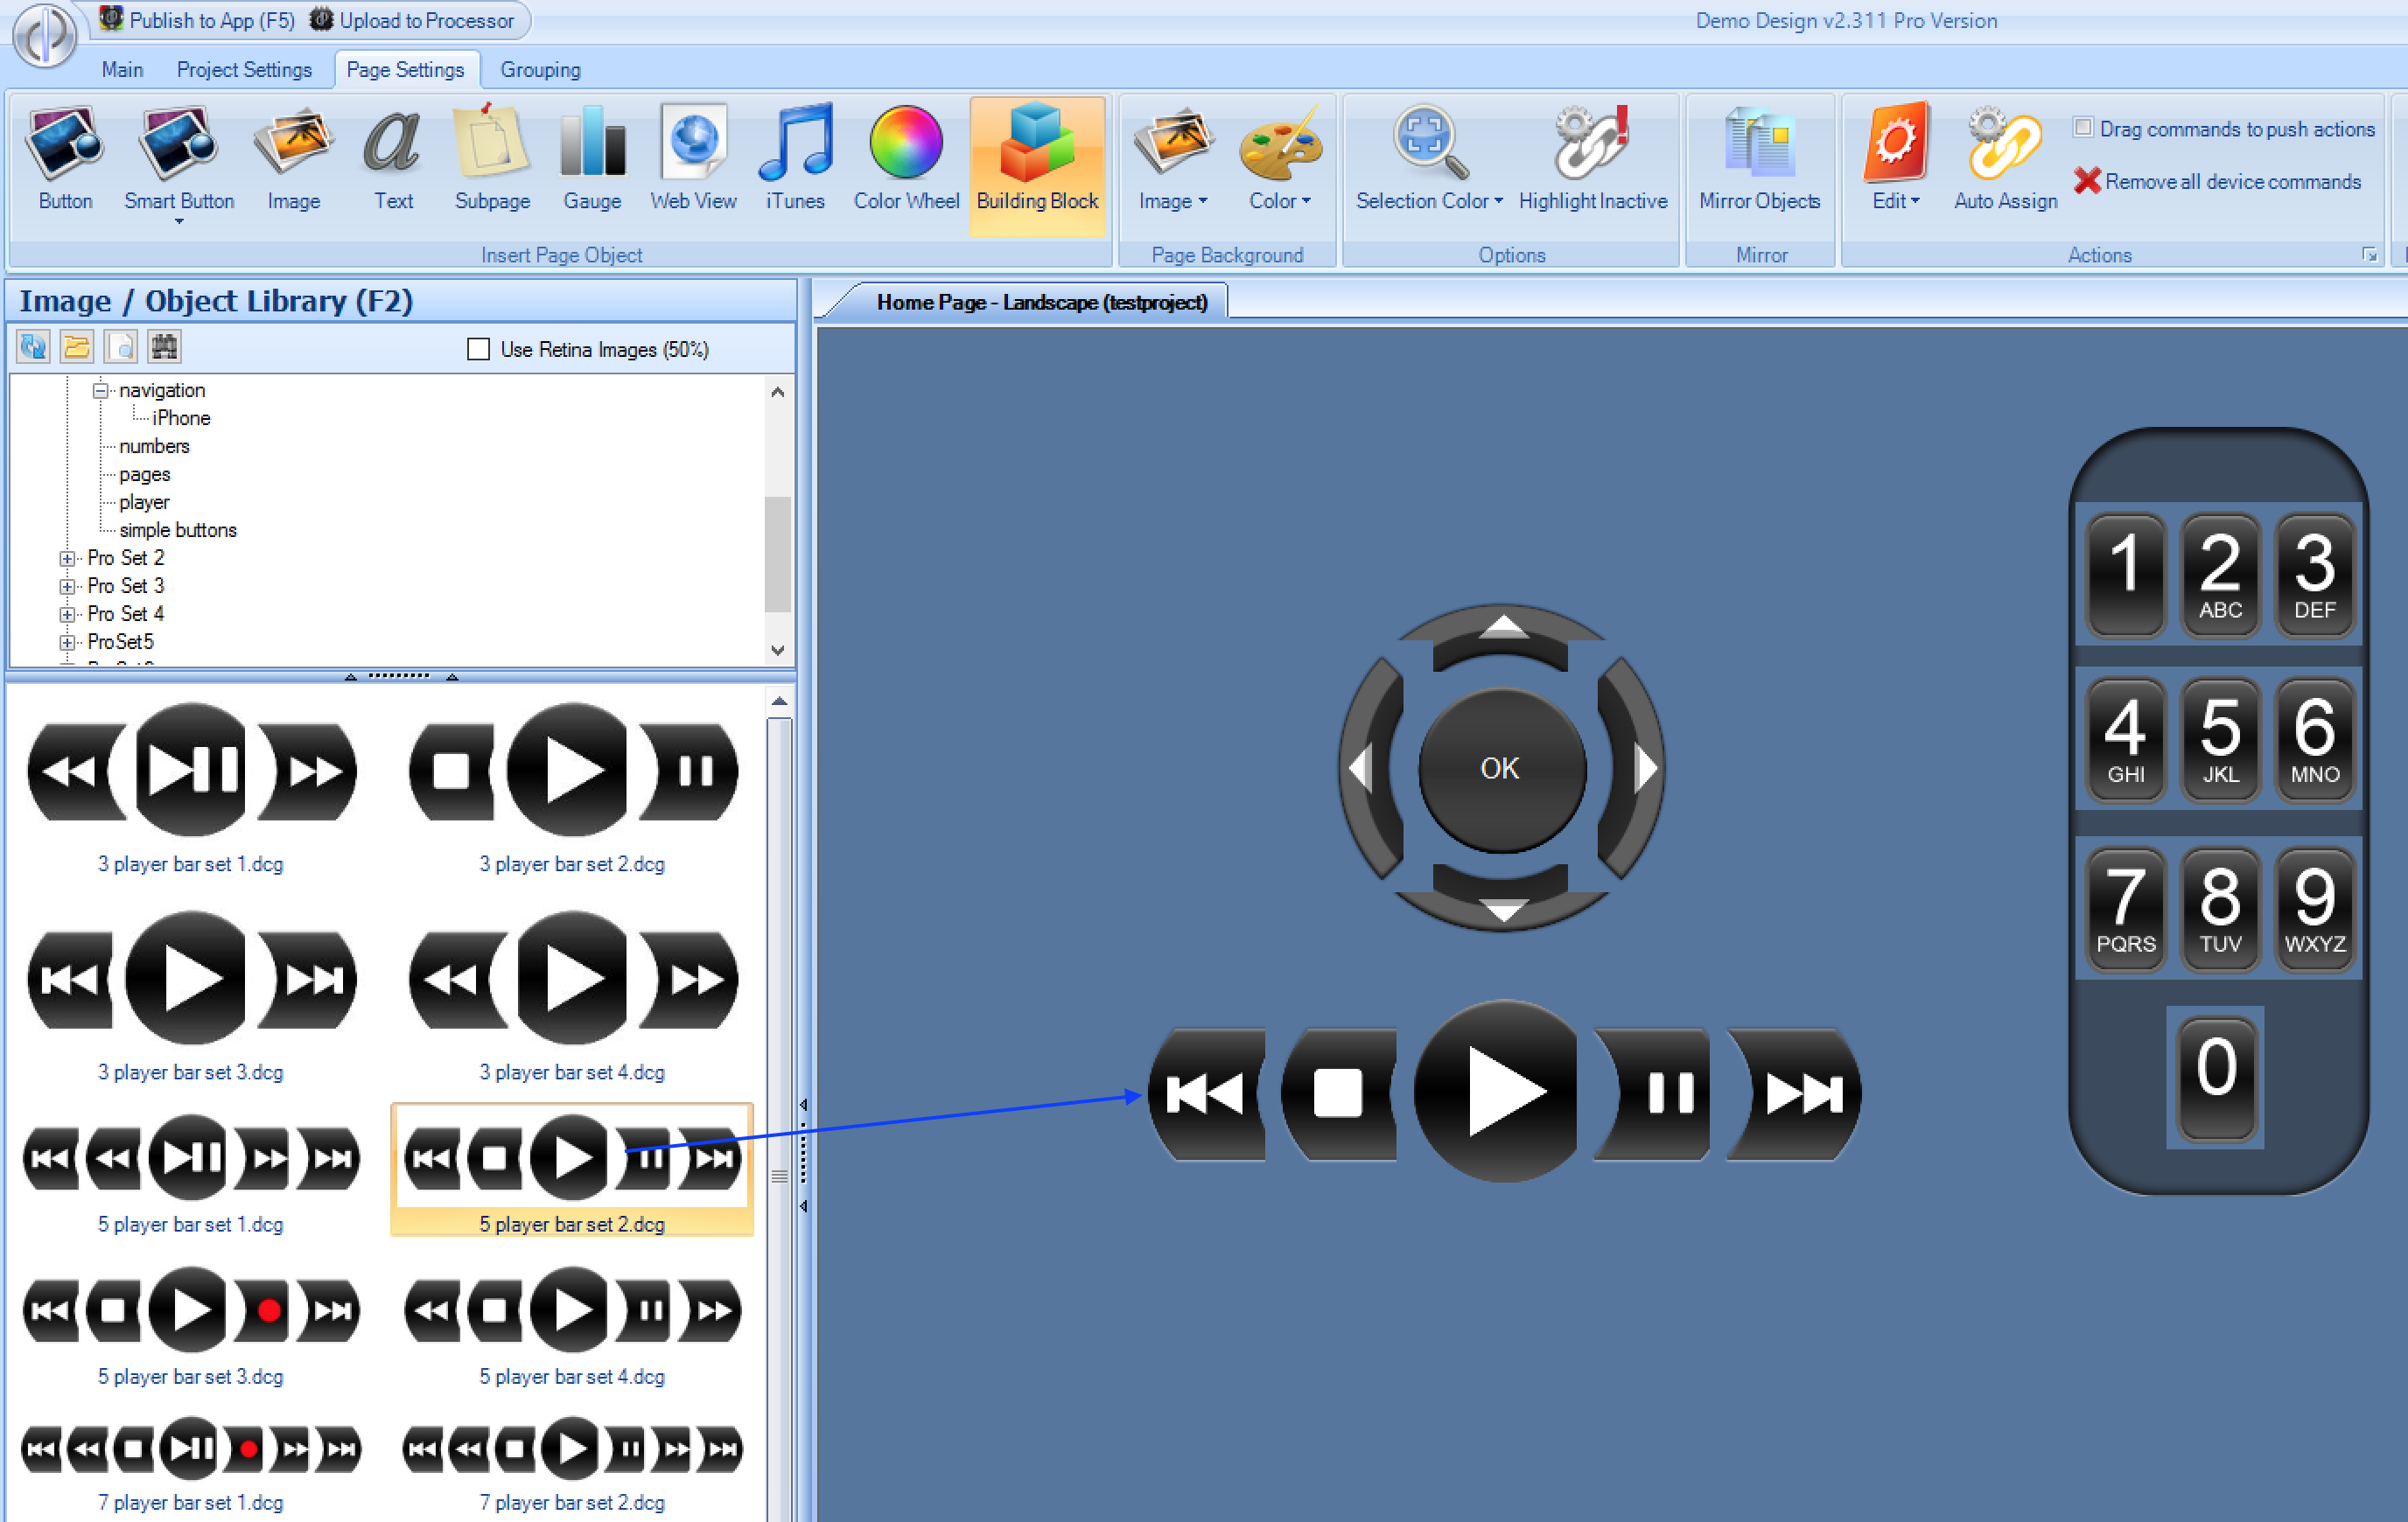
2. Create User Interface
Next, you need to create the user interface for the app. This is done by creating pages & dragging objects (buttons, images, building blocks) onto those pages.
3. Associate Devices with User Interface
The next step is to associate the GUI objects with your devices - typically by adding device commands to buttons, so that when a button is pressed (or released) a command is sent to a device to control it.
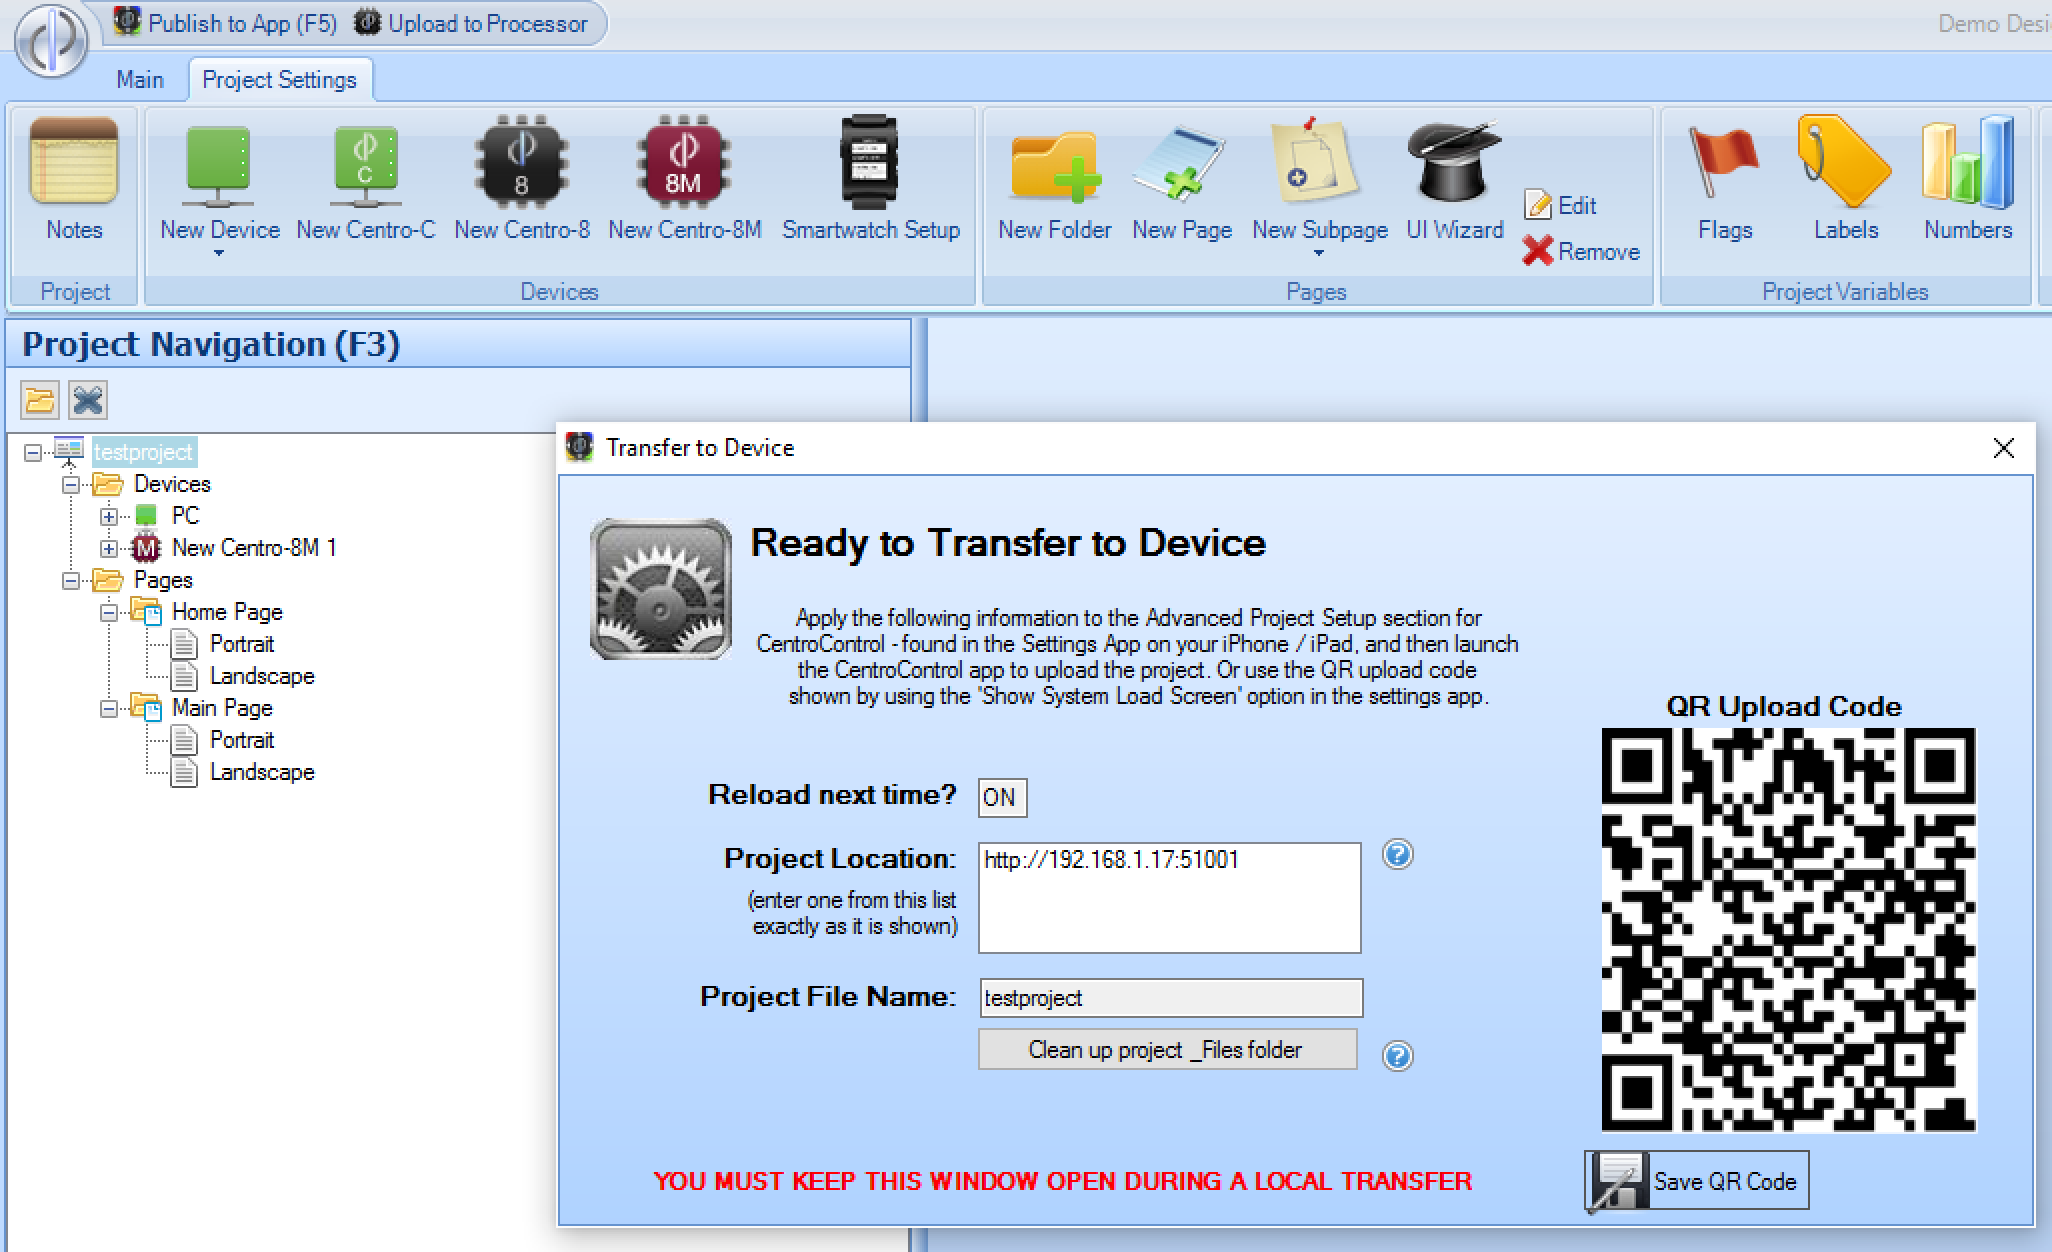
4. Upload to Apps / Processors
When the project is complete / ready for testing, you need to upload the project to the app, and/or to any Centro processors being used. To upload to the CentroControl app, you can scan the QR code from within the app to retrieve the project.