Adding Devices
There are several ways to add devices to the project. If adding a Centro hardware device, you should use the dedicated Centro buttons. Otherwise, you can click on the New Device button to create a new, blank, generic device,
or use the drop down arrow to select from a list of pre-saved devices. Pre-saved devices contain commands & other information entered at the point of saving them.
Generic devices are perhaps the most common device type in a given project. It is a device which is connected to your wired or wireless network, to which you can send commands and possibly listen to feedback. Examples of generic devices include HDMI matrices, amplifiers, IR gateways etc.
Adding a Generic Device
To add a generic device to your project, go to the Project Settings menu tab and click on 'New Device':
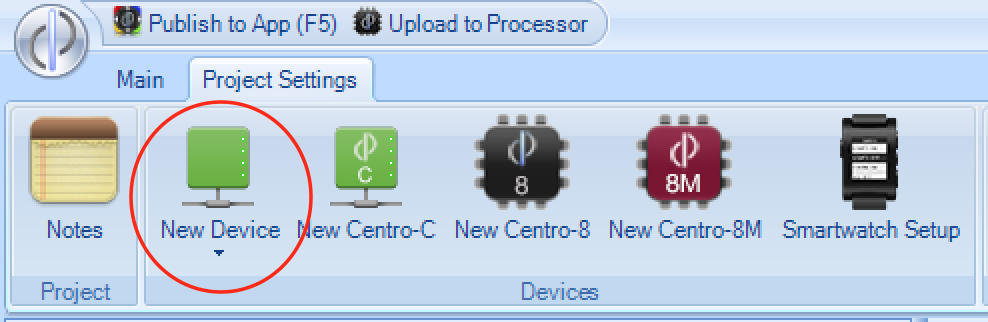
There may be a drop down arrow which allows you to select a pre-saved device. These pre-saved devices can be created with the software, and make it easy to re-use common devices across different projects. They already have certain pieces of information filled in, eg the communication port, and command set.
Device Properties
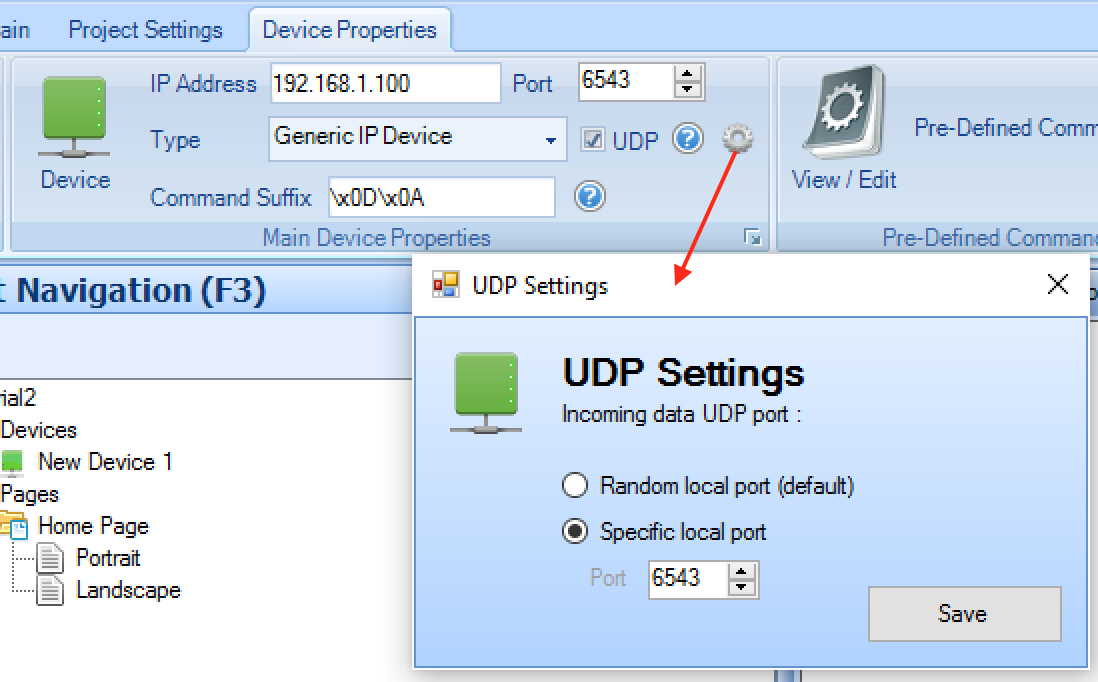
Once a device has been added, it will appear in the project navigation tree view, and you can edit its name by single clicking on the tree item and typing a new name. Once you add the device, or if you click on the device name in the tree view, the device properties tab will show:

Here you must enter the basic information to allow the system to communicate with the device.
IP Address - this is the static network address of the device, eg
192.168.1.100. It is possible to enter host name addresses in this field also, egmydevice.dyndns.orgPort - this is the communication port that the device accepts commands on. Ports fall into the range 0-65536, typical ports are 23 (telnet), 80 (http) etc. Please refer to the documentation for the device in question to determine the communication port to use.
Device Type - should be
Generic IP Device- other types are reserved for 3rd party driver use.UDP - There are 2 basic methods that the solution uses to communicate across an IP network:
TCPandUDP. The default method, TCP, is a 2-way, handshake based protocol, whereas UDP is a 1-way packet based protocol. Refer to the documentation for the device to determine whether to tick theUDPoption. If using UDP, you have the option to specify, with the settings icon next to it, whether to specify a fixed port number to listen for any incoming data, or whether to use a random port for incoming data (default):
- Command Suffix - This data is added to every command which is sent to the device. It saves you having to include common command terminators when entering commands. The default is
\x0D\x0A- which represents 2 characters, hexadecimal 0D (carriage return) and hexadecimal 0A (line feed) - which is similar to pressing 'Enter' on your keyboard (see www.asciitable.com for examples). Many devices have this as the expected command terminator. There is no difference between entering data here, or manually at the end of each command.
Extended Device Properties
By expanding the device menu, you will see the extended properties which are available:

- Remote Location IP Address / Port - It is possible to control the solution from a remote location with the app, and there are several approaches to this, including using a VPN, or port forwarding.
If port forwarding is used, you can enter the external IP address (or host name) and port here, and the app will use this information to connect to devices when
Remote Accessis enabled in the settings of the app.
Note - we recommend the use of a secure VPN for remote control of the system
Maintain Active Connection - The default behaviour of the app is that no connections are made to devices unless a command needs to be sent. Once a command is sent, the connection (if TCP) remains open, but if a disconnection occurs, no re-connection attempt is made, until another command needs to be sent. By selecting
Maintain Active Connection, this behaviour will change, and the app will always attempt to be connected to the device, connecting when the app first starts, and attempting to reconnect if the connection drops. This option is useful, particularly when wanting to constantly listen to feedback from a device, however care should be taken when using this option if the device in question only accepts a single, or limited number, of client connections - as other users will not be able to connect.Disconnect After Each Command - This option instructs the app to close the network connection after each command is sent. This option is useful for those devices which only accept a single, or limited number, of network connections - allowing other users to access the device - but it prevents the app from listening to feedback from the device.
Initial Command - This command (plus the device command suffix) is sent to the device whenever a connection is established. It is typically used to send a username / password in order to log in to the device, so that future commands are accepted.
Authentication Username / Password - This is used when sending commands which require username and password within the command, and allows you to use a common command set across different projects without needing to alter the username / password for each project. By using the keywords:
[#USERNAME]and[#PASSWORD]within the command, the values entered in these fields will be substituted when the command is sent. You may also use the keyword:[#BASICAUTHENTICATION]which will be replaced with a Base64 encoded version of the username and password, separated by a colon - which is useful for HTTP authentication parameters.